

Overview
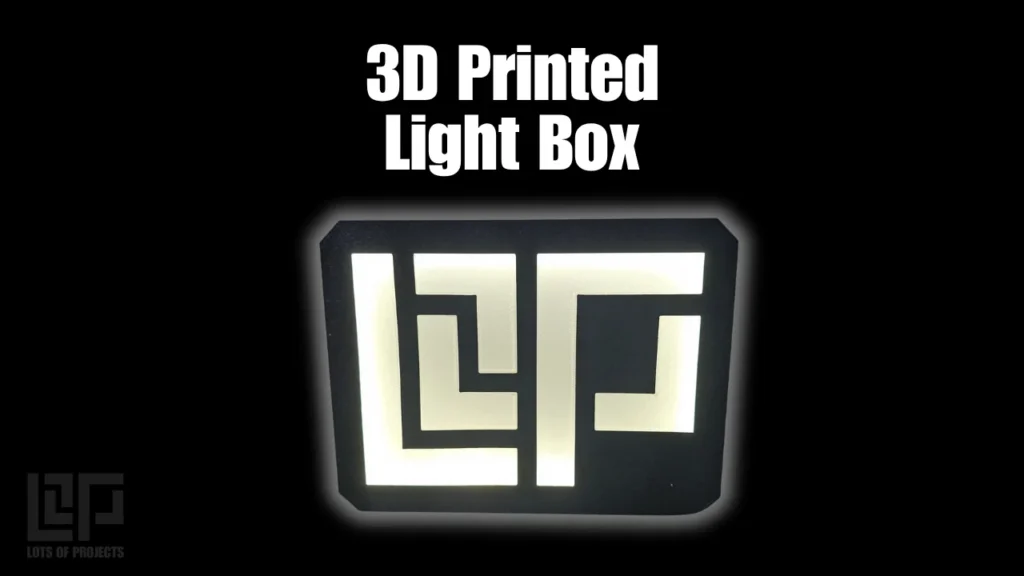
This lightbox has been the backdrop of a ton of my photos recently. From small 3D prints to orders shipping out to customers posted on my Instagram story, it has been shining brightly.
Here is some information about all of the skills needed to bring a project like this together. First it required knowing it was possible to accomplish. Next I need to source the components that I cant make myself which is the LED strips and the power supply needed. After ordering these (links for these below) I was able to measure them to begin my design. Fusion was launched so I could start designing the light box in CAD. Once the design was complete, I sent the parts to my 3D printer. I chose to line the inside with reflective duct tape (the real duct tape for ducts) to help reflect as much light from the LED strip as possible. Then I cut my LED strip to length, stuck it around the perimeter and plugged it in. Learn more about the individual processes needed below.
3D Printing
The 3D printing portion of this project includes slicing the file properly and printing recommendations
In the slicing software, different surfaces can be selected for the software to automatically swap the colors accordingly. This makes it as easy as clicking the color you want and where. (As long as the file was designed correctly. See 3D modeling post)
It is important that the colors go through ALL of the layers that make up the face of the lightbox. The light can only travel through so many layers so it also needs to be only a few layers. These examples that I made used 2 layers at 0.2mm layer height.
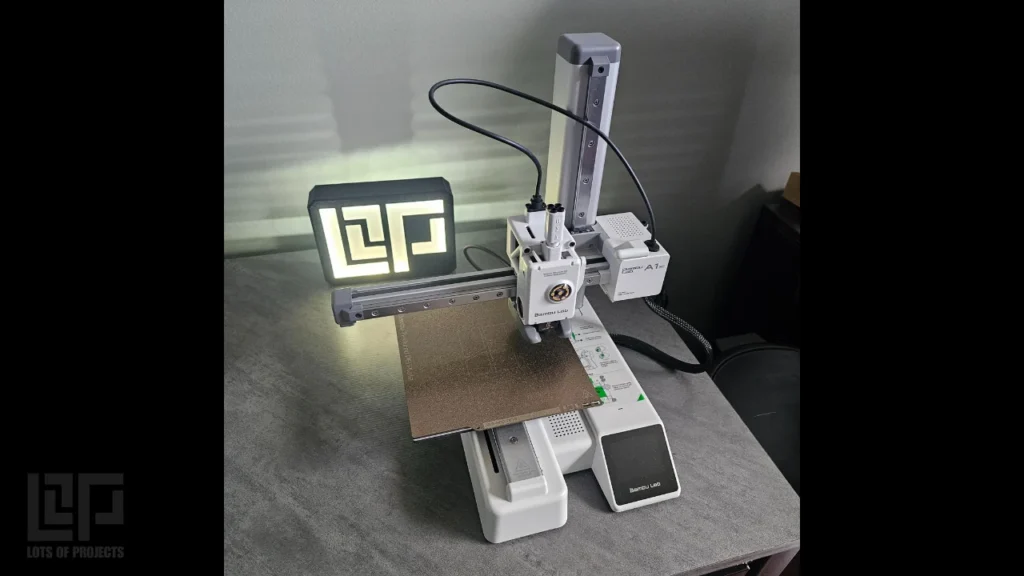
The best printing results are achieved when the face of the lightbox is printed directly onto the bed. It is also recommended to use a textured PEI surface to help blend the layer lines together.
Calibrating the flow rate for each material greatly improves quality by preventing “whisps” or strands of molten filament from landing where they shouldn’t. This happens when the nozzle is traveling for a color change for example.
3D Modeling
Here are some design considerations that went into this project during the 3D modeling process
The thickness of the faceplate is critical to allow light through. I designed it to be two 3D printing layers thick. Each layer is 0.2mm on my printer and settings.
To allow the 3D printing slicing software to “see” the different faces, it is important to offset them by a fractions of a millimeter (tiny tiny amount). This allows the face to be recognized but not treated as a second layer at a different height.
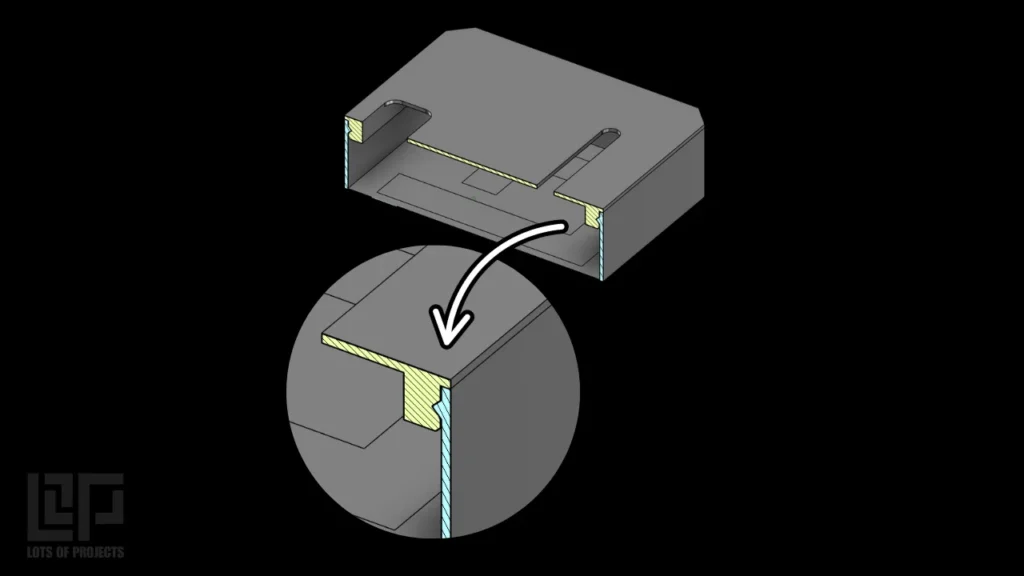
The inside lip/flange on the box needed to be wide enough to fit a 12mm wide LED Strip and its power cable. It also needed some kind of locking tab to hold the backing plate. This way it can simply snap into place after assembly without any fasteners or adhesives.
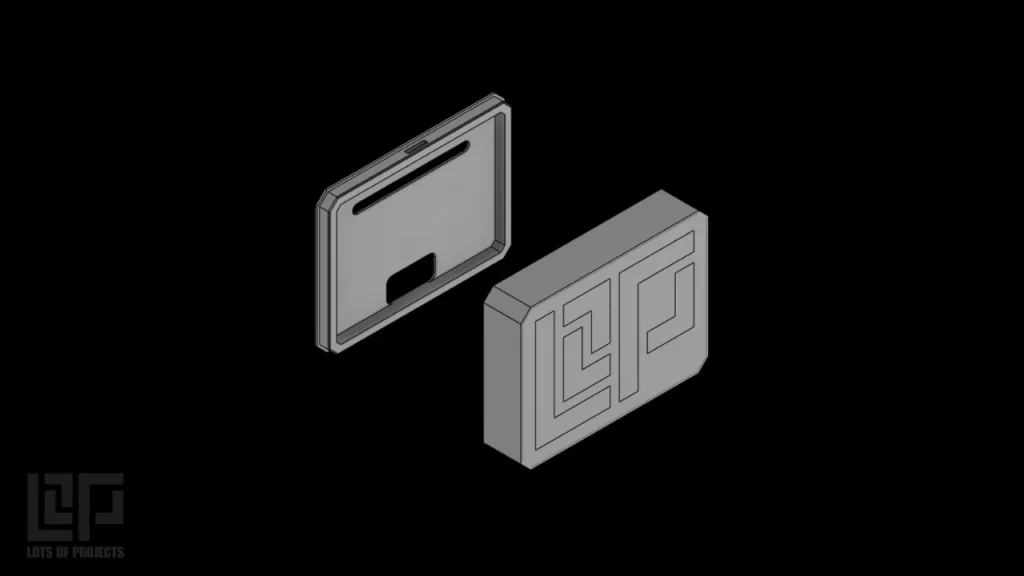
The backing plate is required to prevent the light from bleeding out and not shine through the faceplate. It also has other features such as holes for the power cable and switch.
Electrical
This project required some basic electronics knowledge to complete. After 3D printing the lightbox housing (see the relevant posts about 3D modeling design and 3D printing) I need to spec out the parts needed to make some light.
I chose an LED strip that I can cut to length to perfectly fit inside the box. The variables that I had to choose when selecting the strip are:
indoor or outdoor rated
light temperature (measured in Kelvin) this is how blue or white the light appears
SMD (surface mount device) or COB (Chip on Board)
Power supply 5V, 12V, or 24V
Indoor Rating
I chose IP20 rated LEDs because this box is designed to live inside
Light Temperature (color)
I chose 6000K. This is color closely matches natural sunlight which is around 5000K-6500K. It is white enough to illuminate the logo without appearing blue.
SMD surface mount
I chose an SMD strip simply because they are way cheaper than COB. The performance is not as good but is perfectly acceptable for this application. This style strip uses individual diodes that are mounted along the strip in a given density.
12 Volt power supply
5 Volts probably would be enough for this project, however 12V ensures that it will be bright enough. Plus the rest of the LED strip can still be used for a future project with mystery power requirements.
The LED Strip I used for the curious
Tech Specs:
SMD2835 with 600 LEDs across 5 meters

Affiliate Link
Want to Learn How to do this Yourself?
Come join my community for FREE today filled with like minded people to help you along your journey.