


New Technology
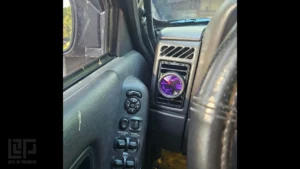
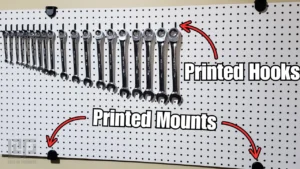
3D printing opened up a whole new world of possibilities. The ability to create highly specialized parts from the comfort of your own home was a huge game changer. You can take a concept from your mind and turn it into a physical tangible object with some plastic and electricity. How crazy is that?
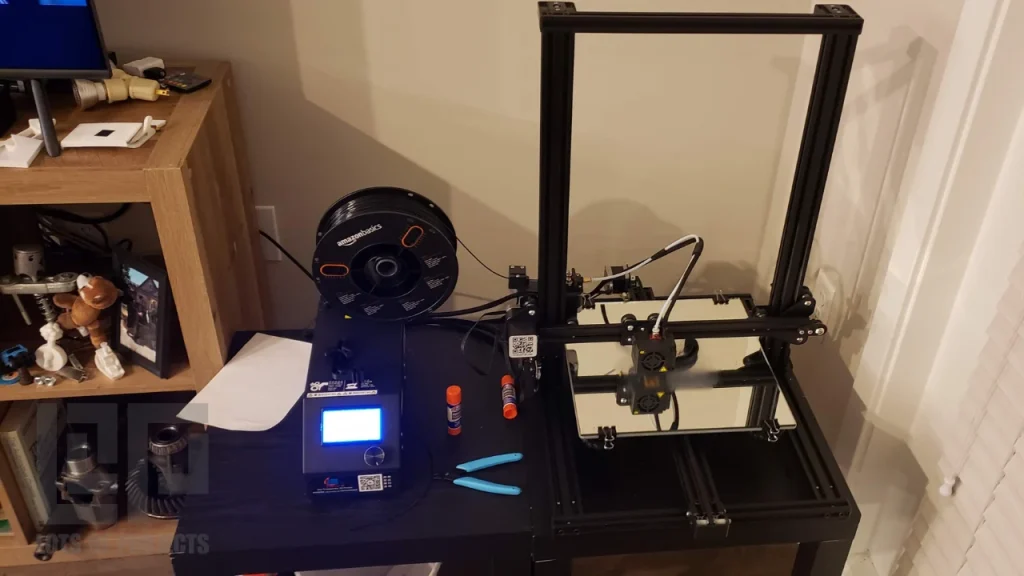
First Printer: Creality CR-10S
3D printing was new for consumer household use and the technology was becoming more and more affordable. My first 3D printer was a Creality CR-10S. This machine cost $500 at the time and had a large build volume of 12 inches x 12 inches. The glass bed moves front to back while the nozzle moves up and down. The power supply and controls are housed in a separate box. There are a mess of cables to connect the printer to to the control box.
The learning curve for using this new technology was challenging. I was unable to get a successful print for several weeks. Success required learning how to use a new software in addition to the hardware of the machine itself. My problem solving research led me to believe the problem was with the machine and not the user.
CR-10S Upgrades
I replaced the glass bed that came with the machine with a square 12” x 12” mirror tile from Home Depot. After installing the mirror, I performed the bed leveling process once again. This time, the plastic stuck to the print bed and I successfully 3D printed my first object, Benchy the Boat.
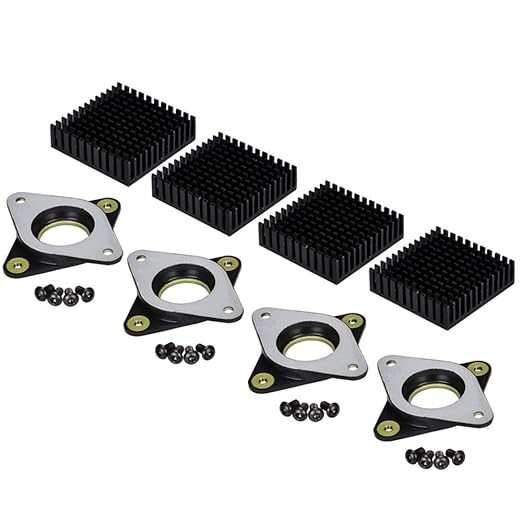
I used this machine for 4 years and slowly upgraded its performance over time. The most impactful upgrades were for print reliability and quality. The best upgrade by far was the addition of auto bed leveling (ABL). This required installing an additional sensor, connecting it to the motherboard of the printer, and flashing it with a custom firmware to tell it how to interpret these new signals. After adding this ABL sensor, I no longer had to perform the monotonous manual leveling process. Most of the other upgrades were to quiet down the machine so it wasn’t as loud during printing.
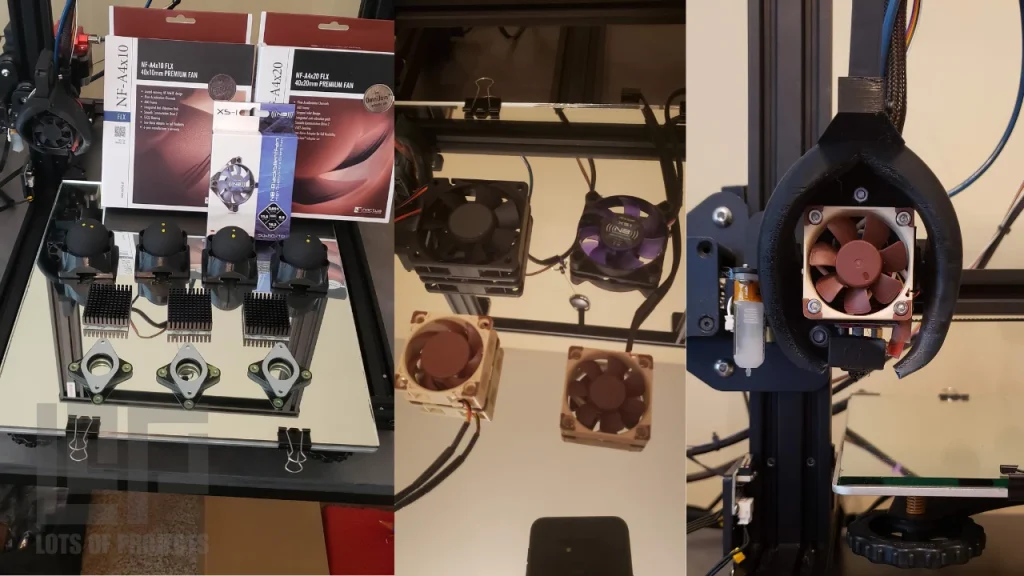
The noise canceling upgrade that worked the best was the addition of squash ball feet. These squishy balls (designed for playing squash the sport) were perfect for absorbing the vibrations being transmitted into the desk. To mount them, I needed to 3D print adapters that bolted to the extrusion rails of the printer. The second biggest noise reducer was swapping ALL of the printers’ fans with silent Noctua Fans (if available in the correct size).
This CR-10S did its job and printed for several hundred hours as my go to work horse. Years later, it was time for an upgrade.
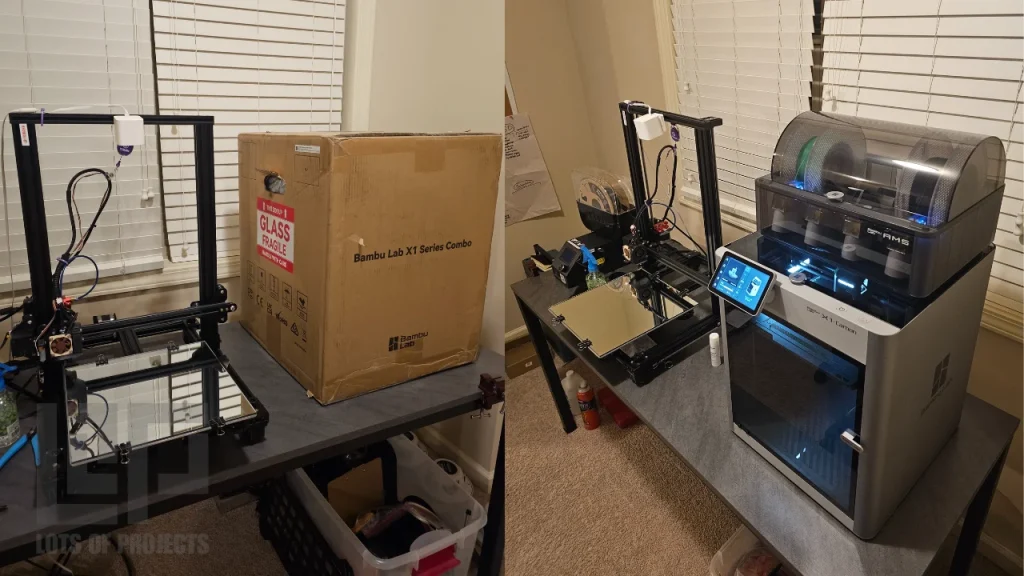
A New Era: Bambu Labs X1C
Introducing the Bambu Labs X1 Carbon. This machine is light years ahead of the CR-10S. It includes revolutionary features such as Lidar detection that uses AI to determine if the print quality is at an acceptable level. Other impressive features include print speeds 10x faster than the old machine, the ability to automatically swap between 4 different colored materials, and being able to print engineering grade materials. It performs all of these incredible functions while being able to livestream the 4K camera view from anywhere in the world.
I can start printing files from my phone because Bambu has a user friendly mobile app. This app has access to a library of seemingly infinite designs that are already sliced and ready to print.
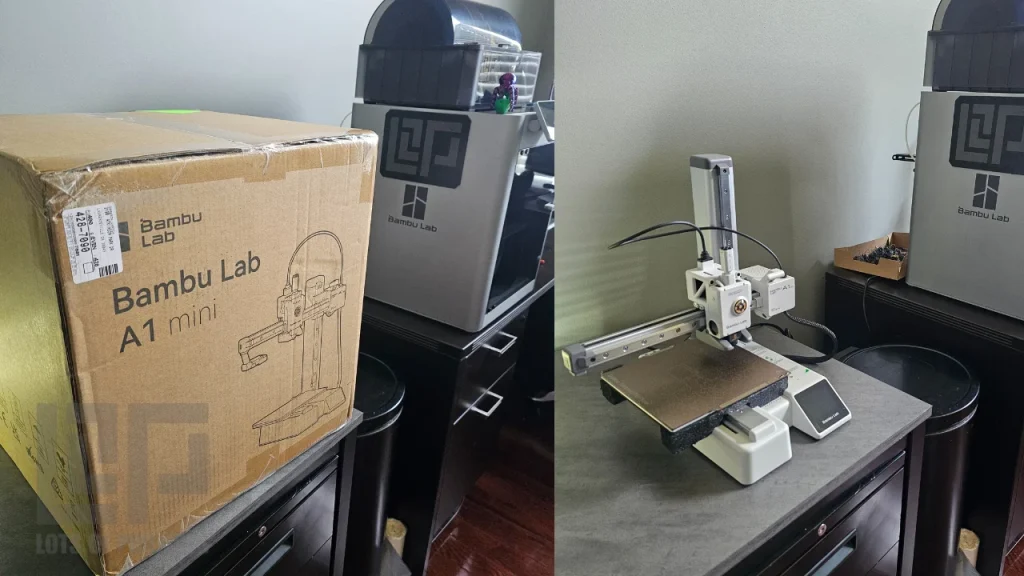
Bambu A1 mini
I was so impressed with the Bambu X1C that I eventually added another Bambu product to my printer arsenal. I chose to go with a Bambu A1 mini that was on sale for only $200. While it doesnt have all of the features of its flag ship big brother, it is unbelievable how user friendly it is compared to the antiquated CR-10S.

Honorable Mention: CR-10 S5
I also stumbled into an opportunity to inherit another Creality dinosaur that is terribly named CR-10 S5. The only similarity to the old CR-10S is the control box setup… and name. This printer is the same format but has a build volume of 450mm x 450mm (17.7 inches x 17.7 inches).

Want to learn 3D Printing?
Join my Skool community to learn from and interact with others going through the same journey. Learn tips and tricks to learn faster and start printing sooner.