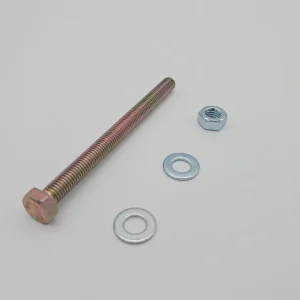
Doorless XJ Install Kit
$9.99
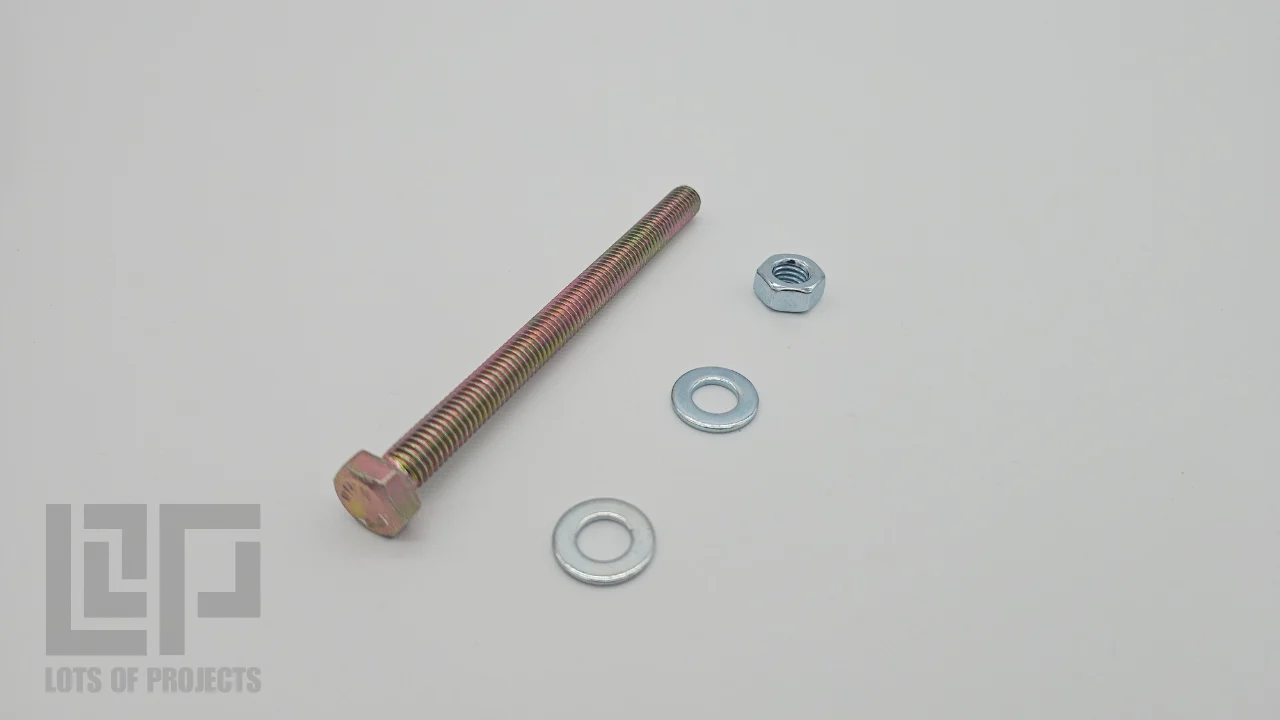
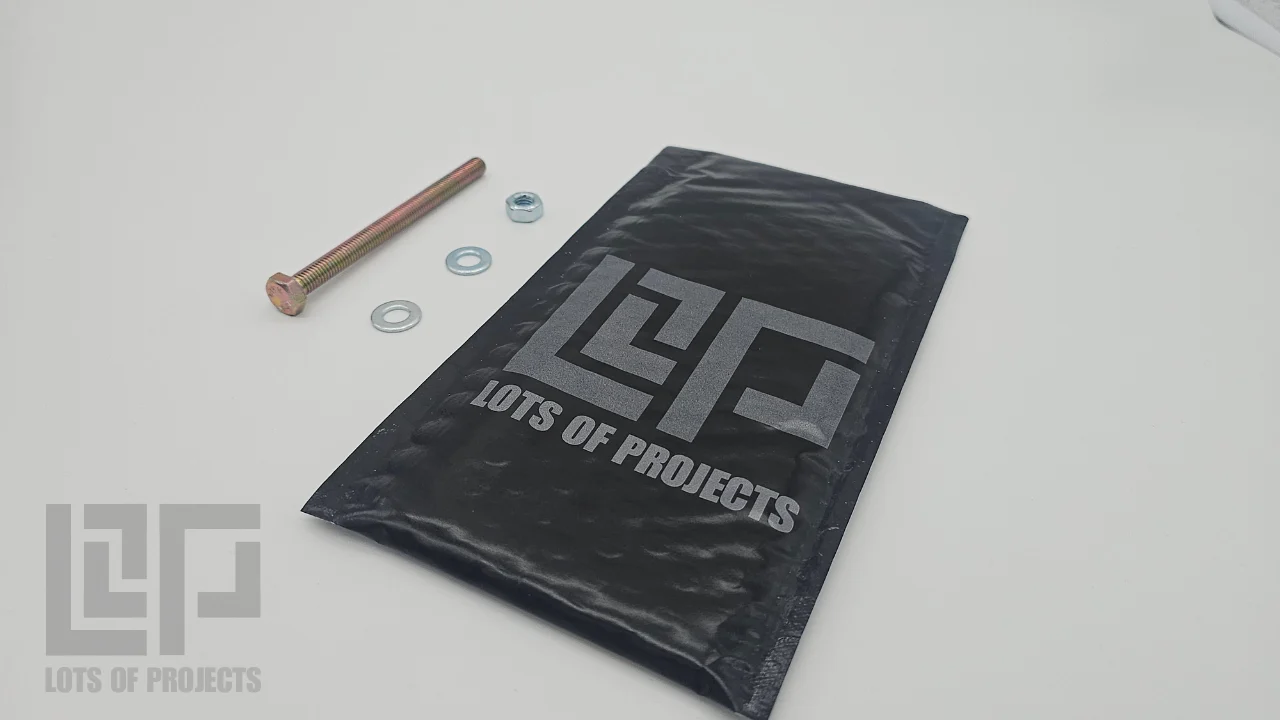
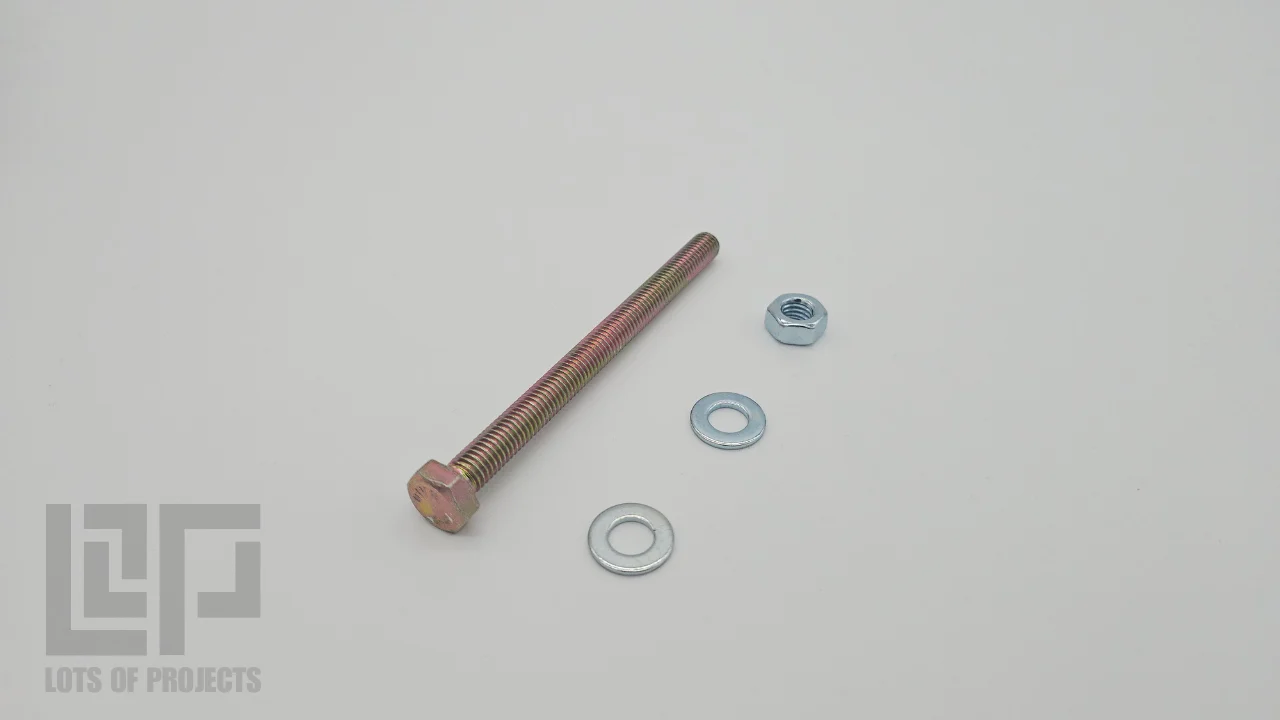
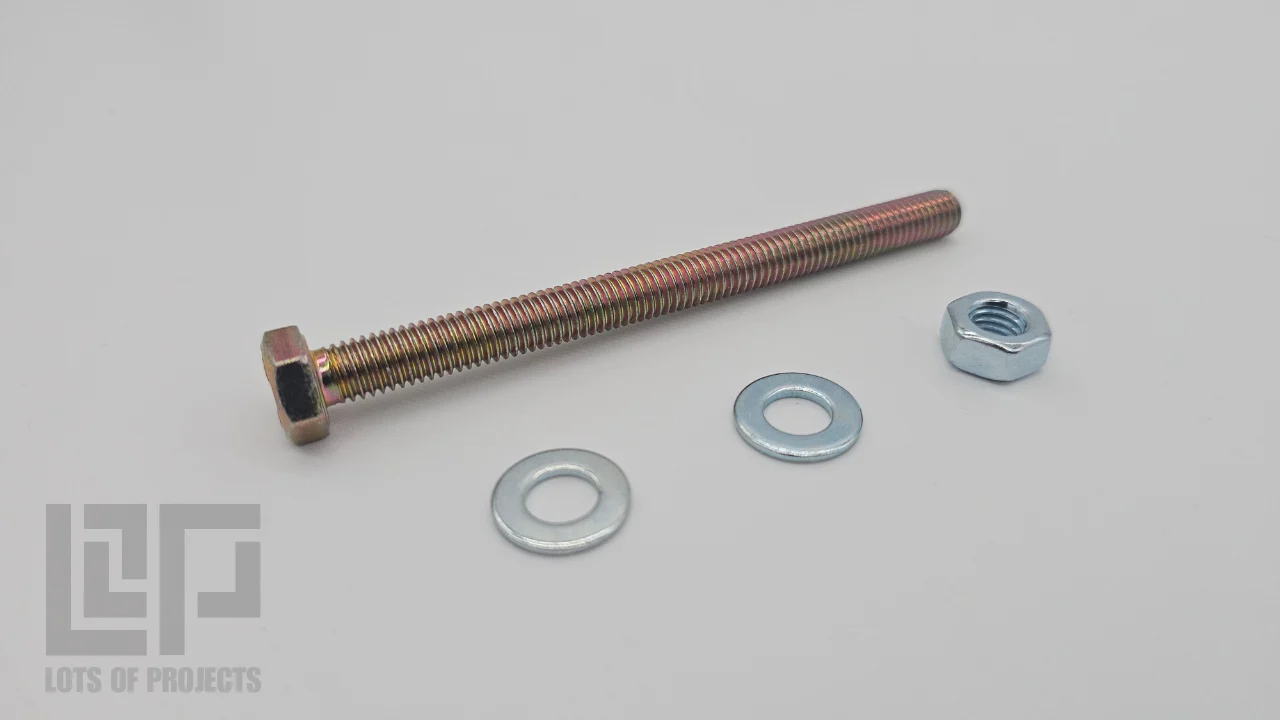
+ Free ShippingThis kit allows for a quick and easy installation of the Lots Of Projects Doorless XJ hinge upgrade kit. The provided hardware will allow you to easily press the bushings into place. This allows for a perfect installation every time without risking damage to the bushings.
This kit allows for a quick and easy installation of the Lots Of Projects Doorless XJ hinge upgrade kit. The provided hardware will allow you to easily press the bushings into place. This allows for a perfect installation every time without risking damage to the bushings.
How to use
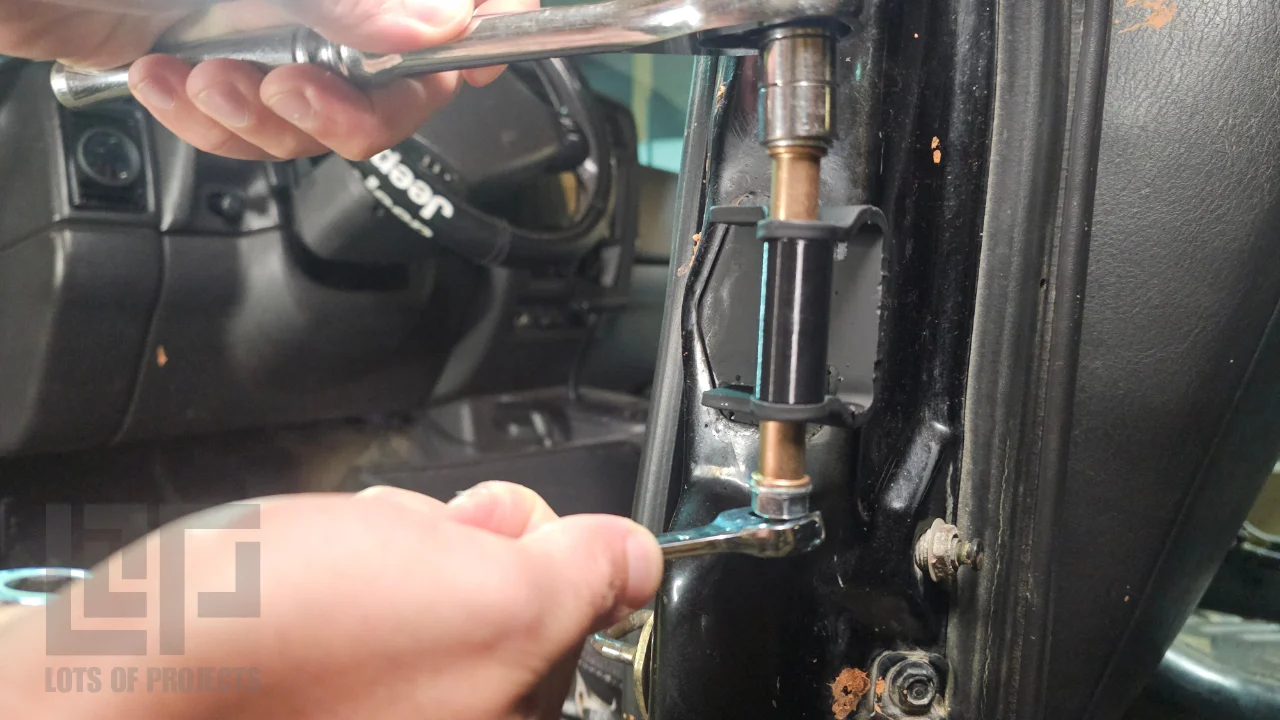
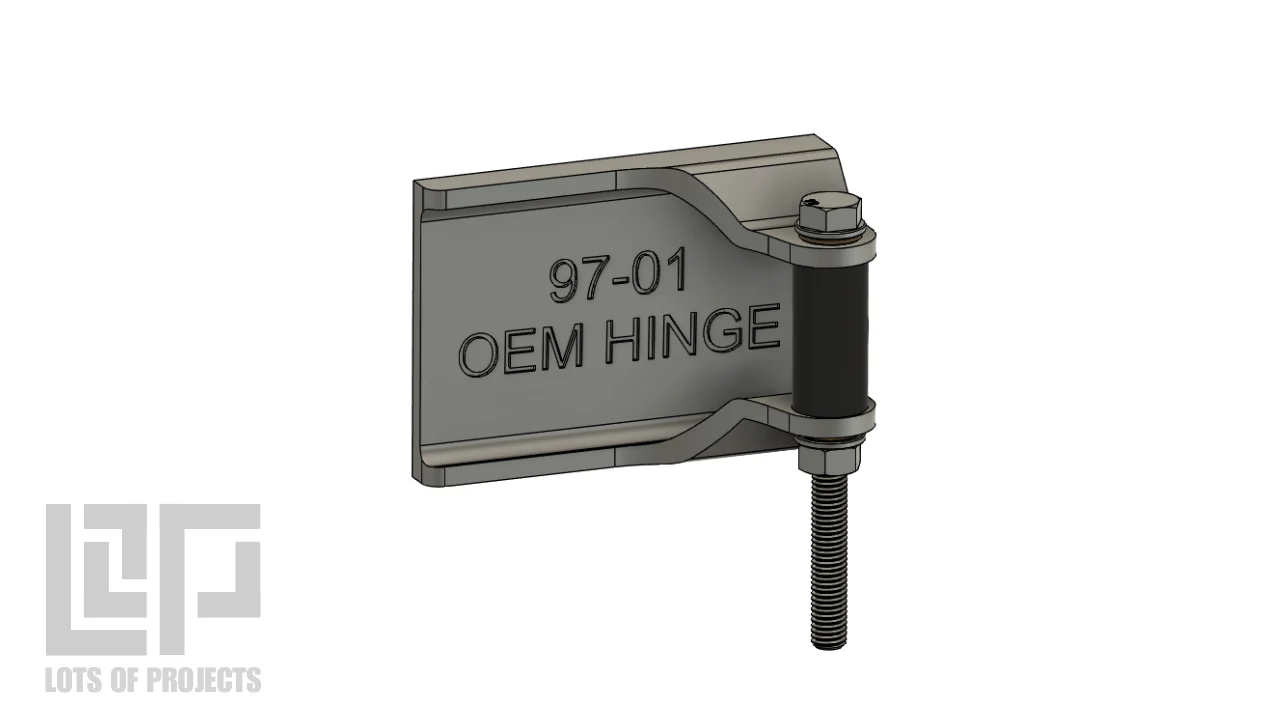
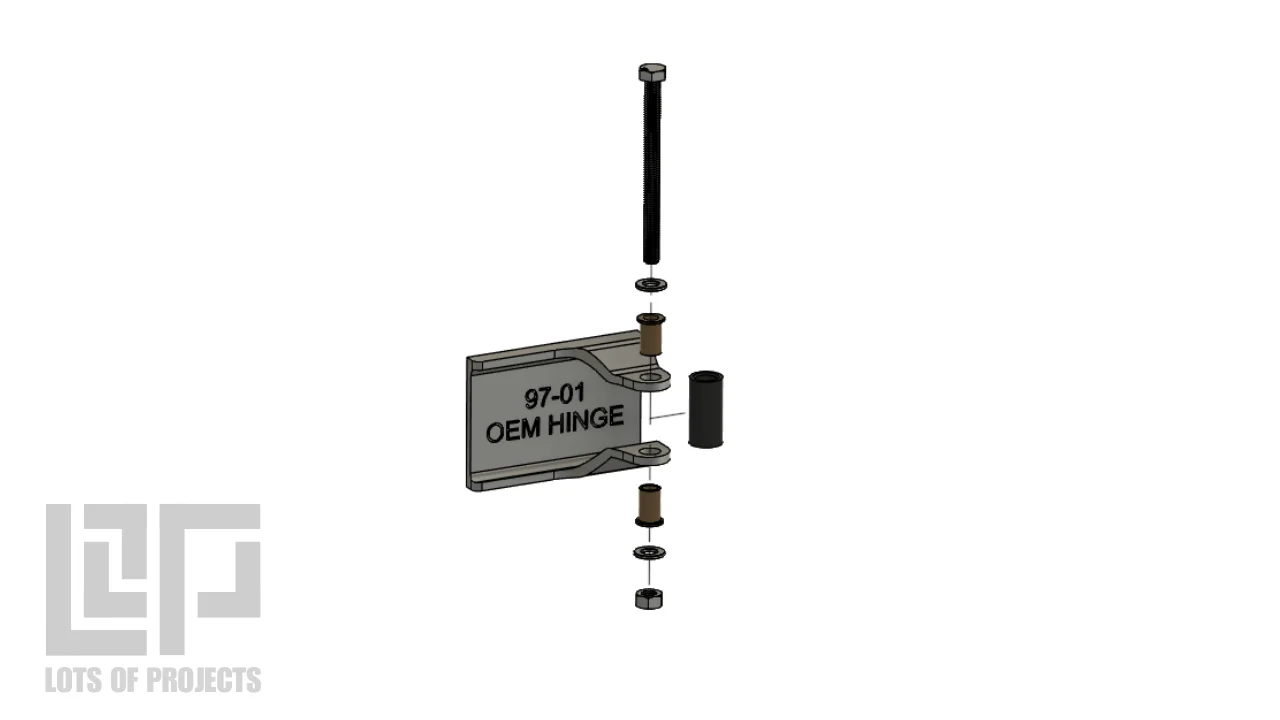
After drilling the factory hinge to the correct size, align all of the bushings on the hinge using the bolt from the install kit. The order from top to bottom should be: Bolt, washer, pivot bushing, factory hinge, alignment bushing, factory hinge, pivot bushing, washer, nut. When everything is aligned, slowly tighten the bolt and nut using a 13mm ratchet and wrench. Observe the bushings during tightening to ensure they are being pressed evenly into the factory hinge. Once the flange on both pivot bushings bottoms out on the hinge, loosen the bolt and remove. After installing the top and bottom. You can now reinstall your door using the quick release pin.
The alignment bushing has a small cavity inside that is designed to hold a small amount of grease. This is optional and allows for easier removal and installation of the quick release pin. To add grease put a small dab on the end of the quick release pin before installing. The grease will be evenly distributed during installation and removal. Any excess will be trapped in the cavity of the alignment bushing.

