


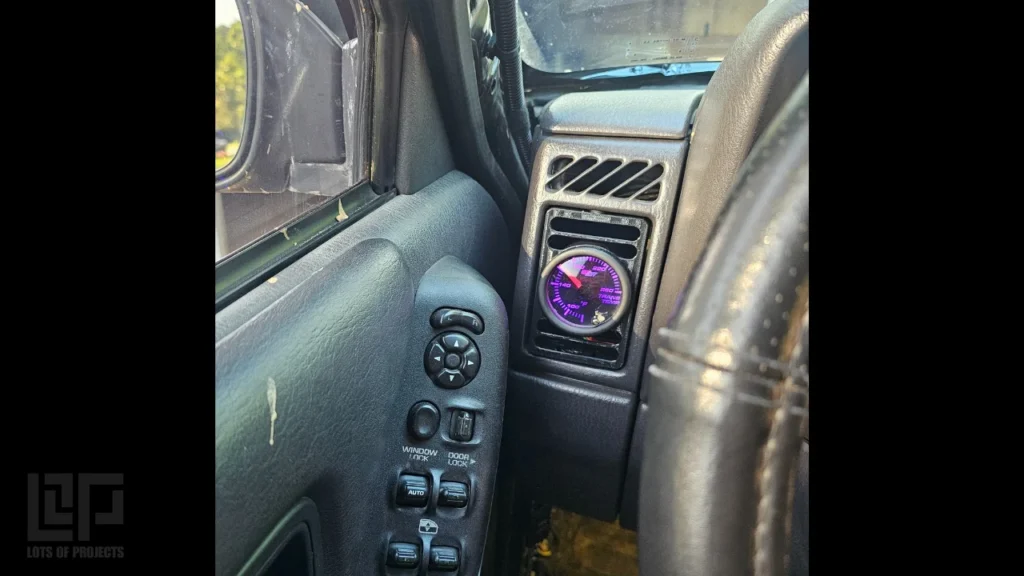
Transmission temperature gauge in the A/C vent. I added a Transmission cooler and temperature gauge to my Jeep. This allows me to monitor transmission fluid temperatures and get improved cooling for slow speed off roading. Read the full story and see the parts I used below.
Project overview
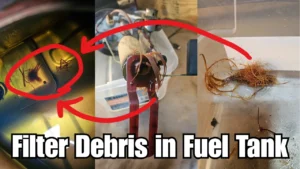
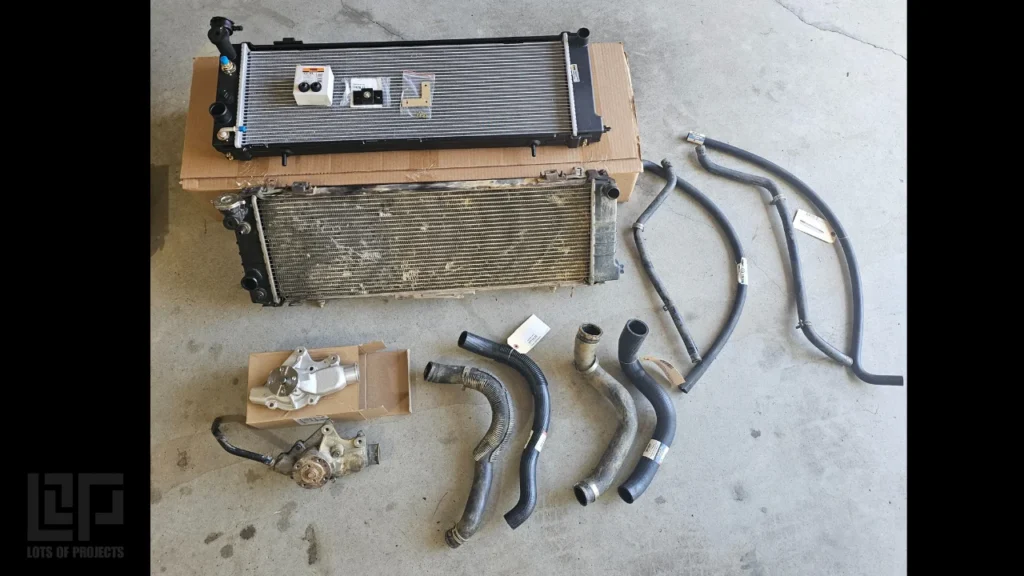
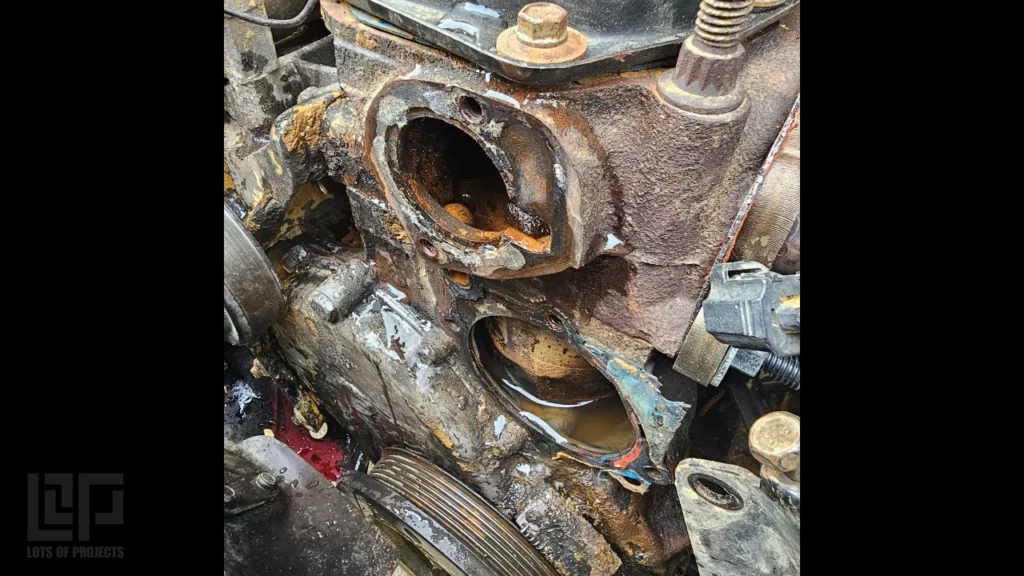
Like most of my projects, what started as a simple task, quickly escalated into much more. While working in the engine bay, the dirty coolant in the overflow caught my eye. I figured a quick coolant system flush wouldn’t hurt anything. It would be quick and best of all, free. Or so I thought. This job is normally as simple as disconnecting a radiator hose and running fresh water through it with a garden hose until the water runs clear. While attempting this, it was clear that my system was very dirty and no matter how much water was pumped through, It kept coming out dirty brown.
So obviously bought a new radiator and all new hoses to ensure I wasn’t circulating clean fluid into dirty parts. Oh yea, I bought a new water pump too. Why not replace as much as possible?
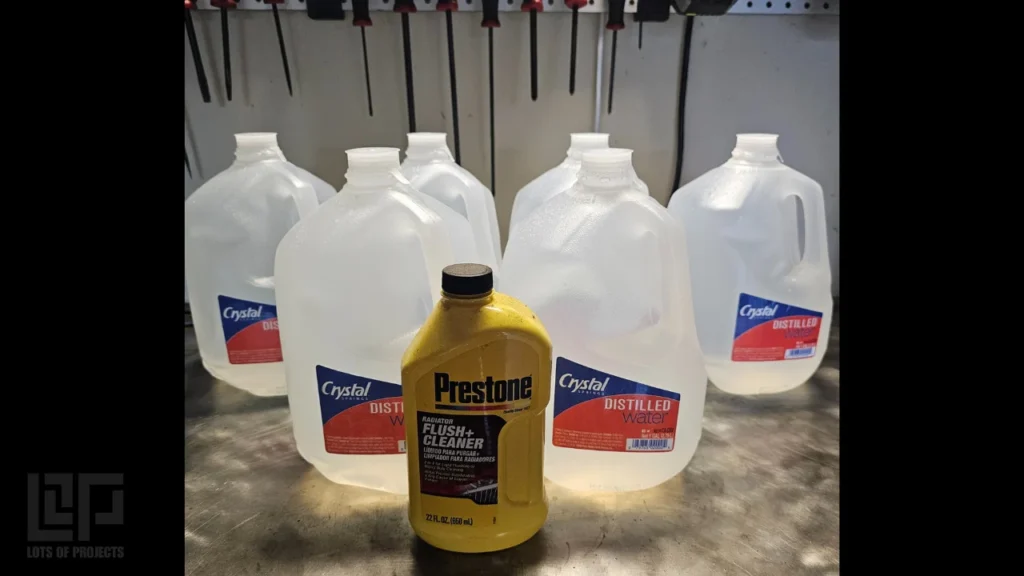
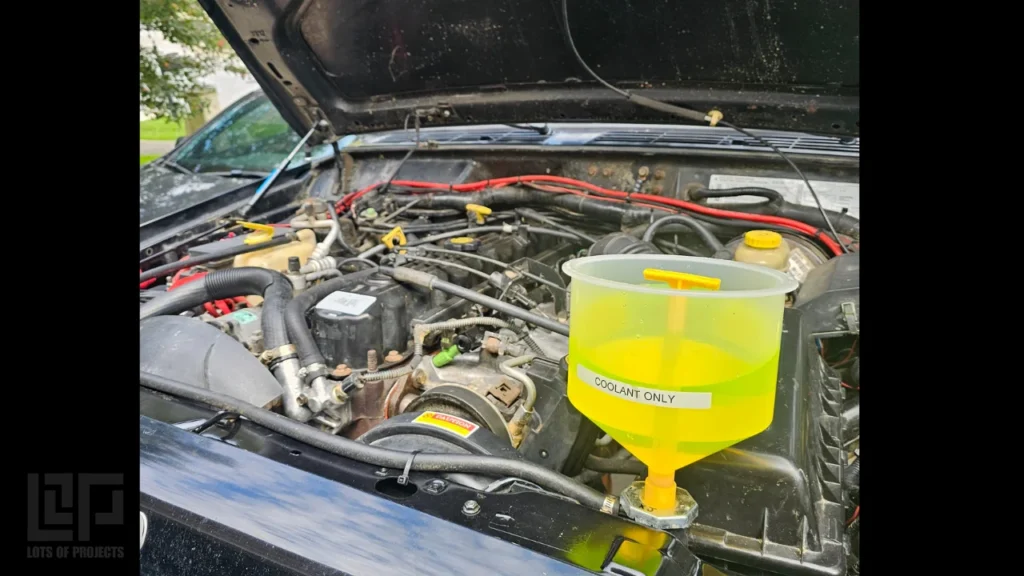
I used a bottle of radiator cleaner and was sure to refill the system with distilled water and fresh coolant

Transmission cooler
While researching radiators, I learned that, on these jeep Cherokees, the radiator also serves to help maintain transmission temperatures. The transmission fluid is routed into the radiator where it initially absorbs heat from the nearby coolant passages. Once up to operating temperature, we don’t want to heat the transmission fluid anymore.
This is the perfect time to escalate this project even further and purchase an external transmission cooler. This would be very simple to install while I was in there. Or so I thought. This cooler is a small tube and fin heat exchanger that mounts in front of the radiator. There are several sizes available online. I picked one (linked below) that fit nicely behind the XJ grill and in front of the A/C condenser.
Fluid and hose routing
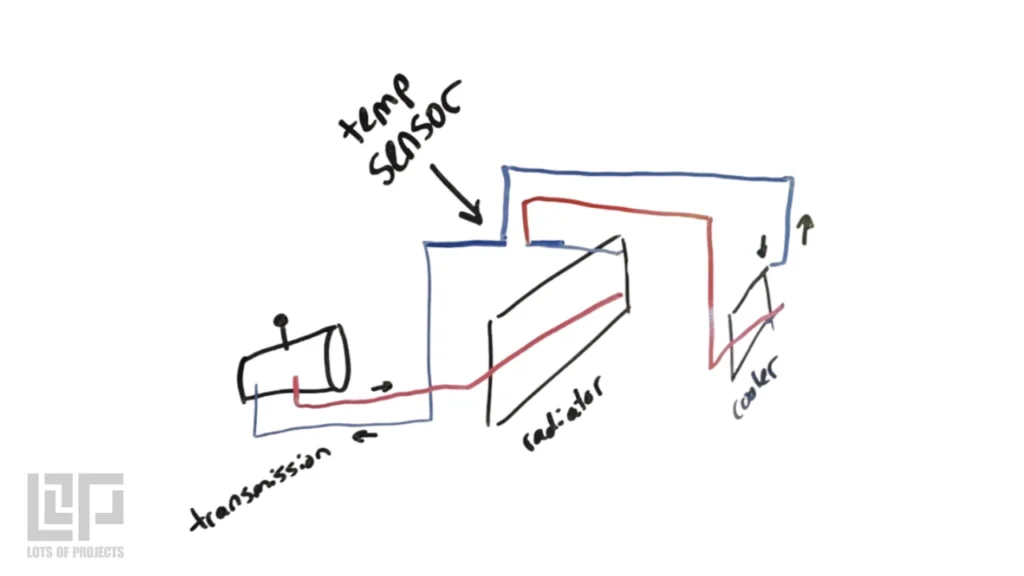
I had to decide how to route the fluid through this new cooler. Do I want to cool the fluid before going into the radiator? Or cool it after the radiator. There is debate online about each method.
The argument for mounting the cooler after the radiator is that it helps the transmission warm up to operating temperature faster which is better for system performance. The downside is that once the transmission is hot, the fluid could be transferring some of its heat to the radiator coolant which makes the radiator less efficient. It would be ideal to remove some of this heat before the fluid enters the radiator.
The argument for mounting before the radiator is that the cold transmission fluid can be warmed up more efficiently by the hot coolant. So the transmission can get to operating temperature faster.
I chose to cool the fluid after the it has passed through the radiator. This will keep the fluid colder longer during initial warm up. I think the trade off is worth it to have the coolest fluid possible going back to the transmission after a full day of off-roading at low speed. The slow speeds don’t allow much airflow over the coolers to do their job properly. So I also hardwired my electric cooling fan to a switch so i can control it whenever I want.
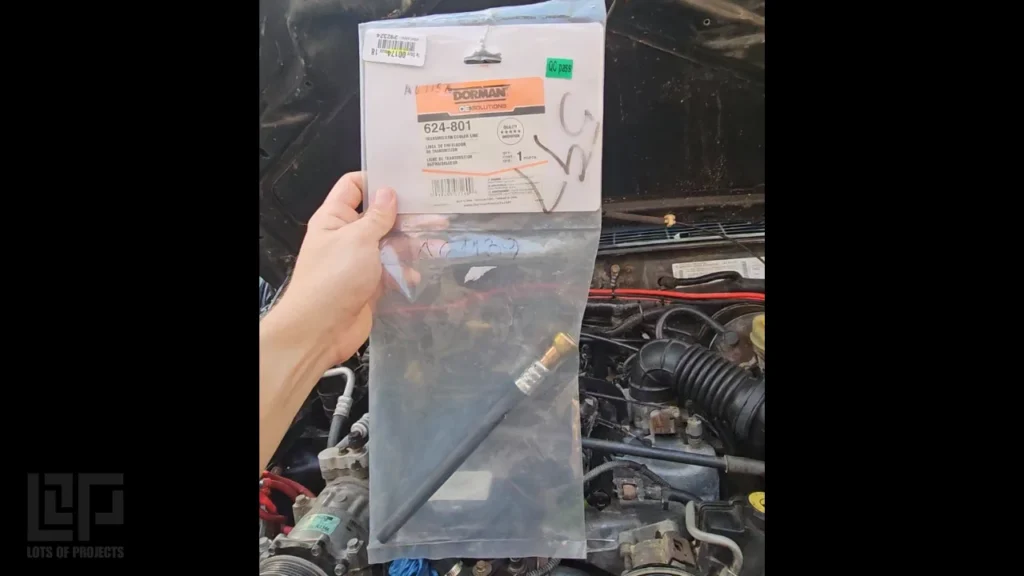
Transmission Hose Adapter
Regardless of routing, I needed a way to route the fluid from into and out of the radiator. I purchased an adapter that threads onto the radiator output and converts it to the correct size barbed fitting for the transmission hoses I am using. This deleted the factory Jeep fitting so that I can use readily available generic hoses for everything. These are cheap and can quickly be cut to size (tool linked below) for custom routing or sensor additions.
The lower transmission hose was also connected with a zip tie. The factory used a quick disconnect fitting that was just missing from mine. So while I was adding new hoses and connections, I also replaced this to make my life easier in the future.
Cooler mounting
I then had to choose how to mount the cooler. It comes with zip tie-like cables that are supposed to go through the radiator fins and clamp the 2 coolers together. I didn’t like this method and chose to fabricate my own mounting. I used 2 steel strips about an 1/8” thick and drilled holes for mounting to the jeep and the cooler. Conveniently, the unibody crossmember on the Jeep Cherokee already had several holes that aligned perfectly with my mounts. I only had to drill 2 additional holes to get everything mounted. I used some 1/4-20 hardware that I had laying around to secure the mounts to the frame. I also added a small piece of adhesive backed foam to the top corners of the new cooler. This is to prevent any collision between the condenser and cooler in a high vibration scenario. For example driving off a steep drop when off-roading. We need to ensure we keep all of transmission fluid in the system if we want to make it off the trail.
Gauge and sensor
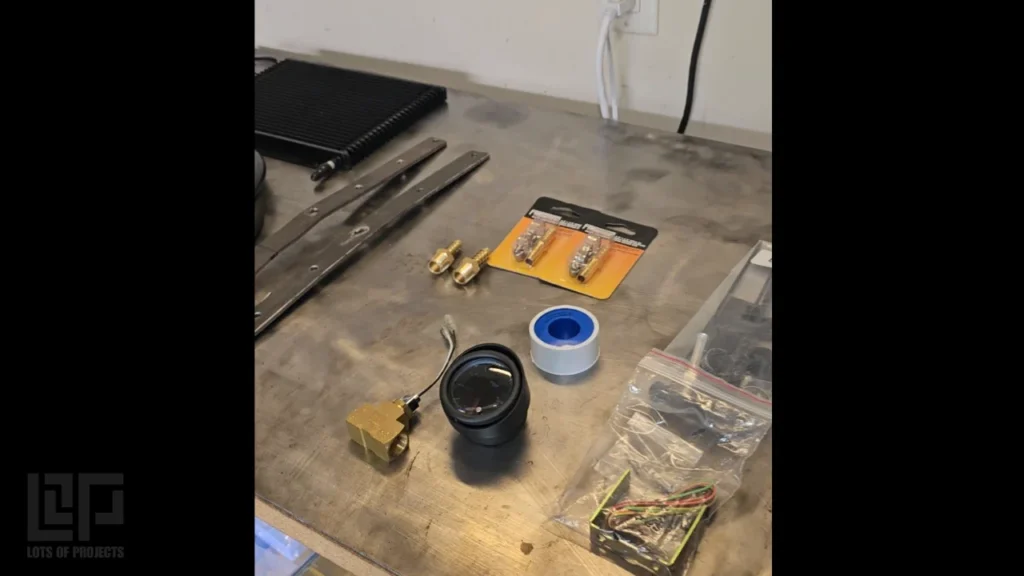
What’s the point of a cooler if I can’t see the temperature of my fluid? That’s why I then purchased a 52mm gauge and the accompanying fluid temperature senor. This also needed some adapter to house the sensor and the barbed connections for the fluid hoses.
To wire the sensor to the gauge, I was able to hijack the factory wiring for the ambient air temperature sensor that my Jeep doesn’t have. This conveniently provided me wiring into the interior of the Jeep without any fancy routing or drilling holes. I simply followed the wires into the cab and tested them with a multi meter to confirm continuity. I then made my gauge connections from here.
Where do I put my gauge?!?! I designed and 3d printed a replacement vent for the air conditioning that had a 52mm hole in the middle. This allows me to mount the gauge in a highly visible location without cutting any holes or adding any unsightly mounts on top of my dash. You can now purchase your own gauge holder from Lots Of Projects to monitor whatever parameters you need. Get yours HERE